

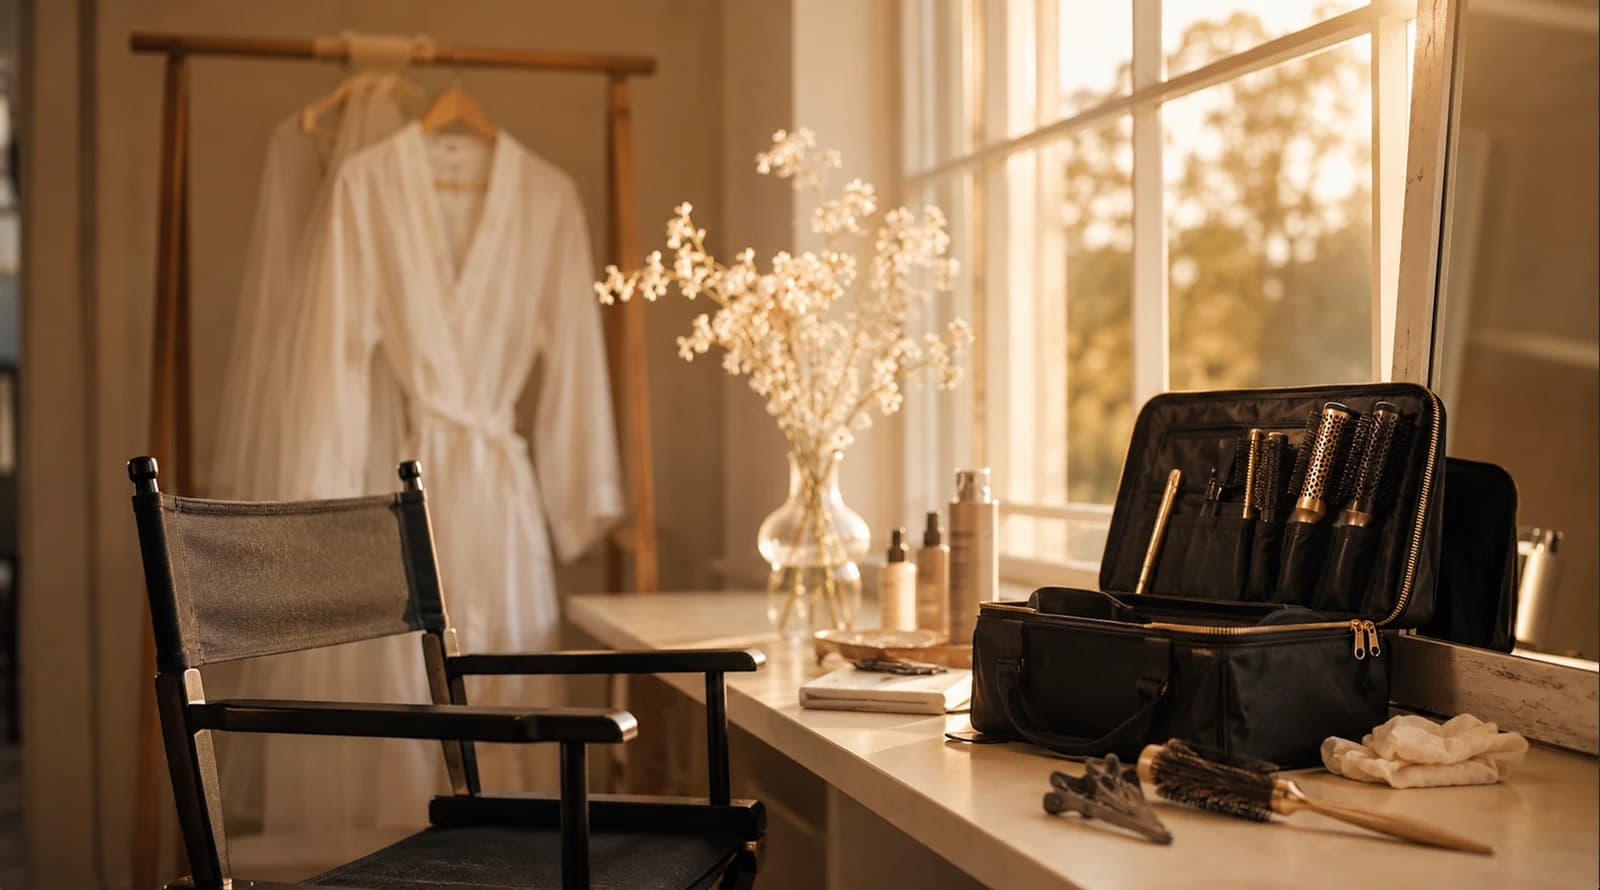
Bridal hairstyling is one of the few beauty careers you can build deliberately. Brides book months ahead, they pay for skill they can verify, and they refer their friends to the person who kept the biggest morning of their lives calm. That also means the path in is clearer than most people expect: master a small set of techniques properly, get honest about your state's rules, build a portfolio before anyone pays you, and treat your first trials like the auditions they are. This guide walks through each stage in the order that actually works, whether you are starting from zero or adding weddings to an existing hair career.
What a bridal hairstylist actually does
The job is bigger than doing pretty hair. On a wedding morning you are part stylist, part project manager, part calming presence.
The styling itself has unusual demands. A wedding style has to survive twelve or more hours, hundreds of hugs, dancing and weather, and it has to look finished from every angle, because photographers shoot the back of the head all day. Most bridal work is also on location: you bring the salon with you, set up in a hotel room or a getting-ready suite, and hold a strict timeline while a bridal party gets ready around you.
Then there is the business side. Most bridal hairstylists are self-employed, handling their own inquiries, trials, travel and pricing. That freedom is a big part of the appeal, but it means the craft alone is only half the job.
Master these skills before you market yourself
You do not need to know everything about hair to start bridal work. You need a short list of skills done to a professional standard:
- Clean sectioning and smooth foundations, because every updo is built on them
- Two or three reliable updos: a classic chignon, a textured low bun, a romantic gathered style
- Waves and curls that still exist at hour ten, not just at the first photo
- Padding and pinning technique, so fine hair gets volume and heavy hair stays anchored
- Confidence across hair textures and densities, since a bridal party rarely has one hair type
- Speed under pressure, which only comes from repetition
The thread running through all of these is structure. A style that photographs well for five minutes and a style that survives a wedding are built differently, and the difference is understanding why a shape holds: where the weight sits, what the pins anchor into, how the base is set. Learn the why and every new style becomes a variation instead of a mystery.
The licensing question, answered honestly
Here is the part most guides get wrong, so it is worth being precise.
Learning hairstyling requires no license anywhere in the US. You can practice on a mannequin head, style friends and family for free, and take courses without asking anyone's permission.
The rules change when money changes hands. Whether you need a cosmetology license to charge for hair services depends entirely on your state. Some states require a full license for any paid hair work. Some have exemptions for certain kinds of styling. Some treat on-location work differently from salon work. These rules also get amended, which is why you should not rely on a forum thread or an article, including this one, for the final word.
The reliable move is simple: contact your state board of cosmetology and ask two questions. First, do I need a license to style hair for paying clients? Second, does the answer change if I work on location rather than in a salon? Get the answer in writing if you can. While you are at it, look into liability insurance and any local business registration you need as a freelancer. None of this is difficult, it is just homework that protects you.
Build your kit gradually
A working bridal kit is smaller than beginners think, and you should build it as your skills grow rather than buying everything on day one. The core:
- A tail comb, a cushion brush and a teasing brush
- Sectioning clips and duckbill clips
- Bobby pins and open pins in colors that match different hair, plus clear elastics
- One or two padding pieces for building volume in fine hair
- A curling iron and a flat iron you know well, ideally with adjustable heat
- A flexible working hairspray you can layer, plus a smoothing product
- A mannequin head for practice, which will earn its cost back many times over
Buy mid-range tools first and upgrade the ones you reach for most. A tidy, organized kit bag matters more than a luxury one: on a wedding morning you need to find the right pin in two seconds, in someone else's kitchen, with an audience.
Build a portfolio before anyone pays you
Nobody hires a bridal stylist without seeing their work, and you cannot show work until you have done some. The way around this loop is to create the work yourself.
Start on the mannequin head. Photograph every finished practice style against a plain wall in natural light, from the back and both sides as well as the front. The back-of-head shot is the one brides scroll for, and it is the one beginners forget to take.
Then move to real people. Style friends and family, and be upfront that you are building a portfolio. Real heads teach you what mannequins cannot: sensitive scalps, conversation, fidgeting, and hairlines that do not behave.
The step that levels most new stylists up is the styled shoot: a collaboration where a photographer, a makeup artist and sometimes a florist and a model all contribute time to create portfolio images everyone can use. Search for styled shoot collaborations in your area, or propose one yourself. You get professional photos of your work, and just as valuably, you meet the exact vendors who refer bridal clients.
Getting your first bookings
First bookings rarely come from strangers finding you online. They come from people who already serve brides.
Makeup artists are the closest allies, since brides often book makeup first and ask their artist to recommend hair. Photographers and planners see weddings all year and remember the stylist who was on time and easy to work with. Venues keep preferred-vendor lists. Every styled shoot, every wedding you assist on, every friend's wedding you style is a chance to become the name these people pass along.
On pricing, think in terms of a framework rather than copying a number from the internet. Add up the real hours a wedding costs you: the trial, travel, setup, the styling itself and the buffer you hold for delays. Factor in your kit, your insurance and your level of experience, then look at what stylists in your local market charge for comparable work. Many new stylists start modestly and raise prices as their portfolio and demand grow, which is a healthier path than starting high and negotiating down.
The trial run: your most important appointment
A paid trial several weeks before the wedding is standard in bridal work, and it is where bookings are won.
Treat it as a full rehearsal. Consult properly: look at the bride's reference photos, then at her actual hairline, density and length, and be honest about what will translate. Style the hair exactly as you would on the day, time yourself, and photograph the result from every angle. Ask her to live in the style for a few hours afterwards and tell you what moved, what pulled and what she stopped liking. Write everything down: products, sections, padding, timings.
A stylist who runs a calm, thorough trial almost always gets the wedding, because the trial is not really about the hair. It is proof that the morning itself will be in safe hands.
How to train for bridal work
You can assemble this education yourself from free videos, and plenty of stylists have. The tradeoff is time: without structure, most people practice styles at random and plateau, because they never learn why one attempt held and the next collapsed.
Structured training fixes the order of learning. Bliss Fundamentals is the starting point if you are new to styling: over 30 step-by-step tutorials covering sectioning, structure and finishing, practiced at home on a mannequin head, for $119 with 12 months of access and a certificate on completion. If you already style and want to specialize in weddings, Bridal Glamour focuses on bridal-specific techniques for $149.99. Both are taught by Márcia Da Silva, a working hairstylist trained across three continents who teaches structurally: not just the steps, but why each style holds. A materials list is provided, and every online course carries a 7-day money-back guarantee.
If you would rather see the teaching style before spending anything, the free Inverted Braid lesson is a full technique tutorial from Bliss Fundamentals: just a name and an email, no card.
However you train, the sequence is the one this guide follows. Skills first, then the licensing homework, then a portfolio, then trials that prove you are the safe pair of hands every bride is looking for.